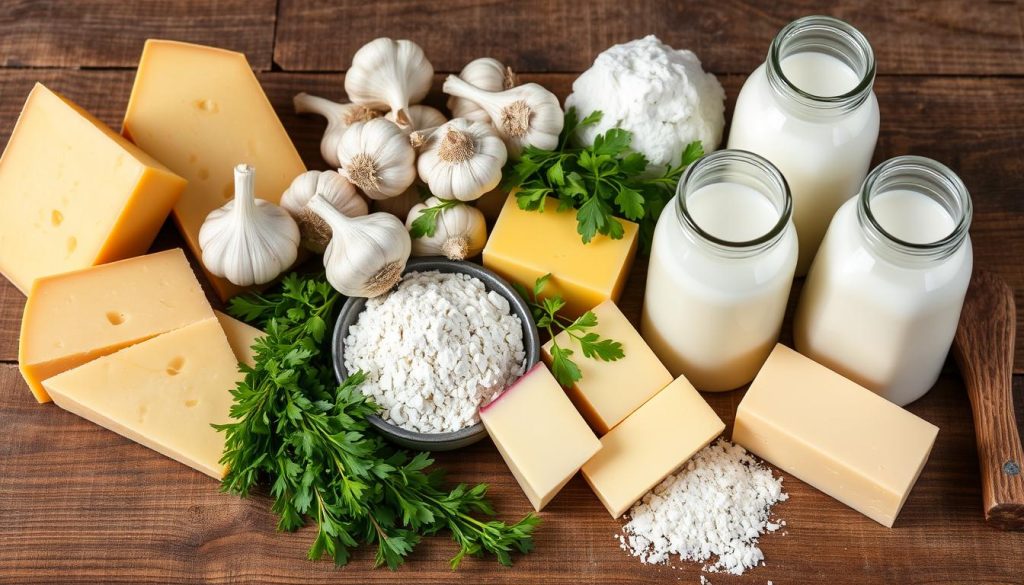
Imagine walking into your kitchen and smelling the warm, irresistible aroma of freshly baked cheese and garlic scones. These savory treats will make your baking experience amazing in just 30 minutes.
Baking delicious scones is easy and quick. This simple recipe makes golden, buttery cheese and garlic scones that will wow your family and friends. Perfect for busy home cooks or weekend bakers, these scones are a quick and tasty treat.
The secret to these savory baked goods is their simplicity. With just a few ingredients and minimal prep, you can have warm, cheesy scones in under half an hour. No need for complicated techniques or professional baking skills – just pure, delicious satisfaction.
Get ready to discover how easy it is to make bakery-quality cheese and garlic scones in your own kitchen. Your culinary adventure starts now!
Why These Savory Scones Will Become Your New Favorite
Looking for a buttery scone recipe that makes baking special? You’ve found it. These garlic-infused pastries will change your kitchen and excite your taste buds.

Perfect for Any Occasion
These scones are versatile. They’re great for breakfast, brunch, or as a side dish. They’re perfect for both family gatherings and fancy tea parties.
Quick and Simple Preparation
Time is valuable, and this recipe gets it. You can make these scones in just 30 minutes. Even beginners can make them look like they came from a restaurant.
- Preparation time: 10 minutes
- Baking time: 20 minutes
- Total time: 30 minutes
Irresistible Flavor Combination
The secret to these scones is their harmonious flavor profile. Sharp cheddar cheese and aromatic garlic make every bite a delight. They offer a perfect mix of richness and zesty flavor.
Get ready to wow your guests with these amazing cheese and garlic scones!
Essential Ingredients for Perfect Cheese and Garlic Scones

To make delicious homemade scones, you need the right ingredients. Your cheese-filled treats start with a list of high-quality components. These ingredients will make your baking experience better.
The foundation of your scones begins with precise measurements. Here are the key ingredients you’ll need:
- 2 cups all-purpose flour
- 2 teaspoons baking powder
- 1/2 teaspoon baking soda
- 1/2 teaspoon sea salt
- 1/4 teaspoon fresh cracked pepper
- 1 teaspoon granulated garlic
- 1 stick (1/2 cup) unsalted butter, cold
- 1 cup shredded cheddar cheese
- 1/4 cup fresh chopped chives
- 1 large egg
- 1/2 cup sour cream
- 2 tablespoons cold water
Pro tip: The secret to perfect homemade scones lies in using cold butter and handling the dough minimally. Cold ingredients help create those sought-after flaky layers in your cheese-filled treats.
Each ingredient plays a key role in making the ultimate savory scone. The cold butter creates tender layers, while the shredded cheddar provides rich, melty pockets of flavor. Fresh chives and granulated garlic elevate the taste, giving your scones an irresistible aroma and depth.
Kitchen Tools and Equipment Needed
To make tasty brunch delights and teatime snacks, you need the right kitchen tools. Before starting your cheese and garlic scone recipe, get these essential tools. They will make baking smooth and easy.
Basic Baking Essentials
Your scone-making journey begins with some key tools. Here’s a list of must-haves:
- Large mixing bowl for combining ingredients
- Measuring cups and spoons for precise ingredient quantities
- Liquid measuring cup for accurate liquid measurements
- Whisk for blending dry ingredients
- Baking sheet or baking tray
- Parchment paper for easy cleanup
- Pastry brush for egg wash
Optional Helpful Tools
These tools are not essential but can make things easier:
- Pastry cutter for incorporating cold butter
- Food processor for quick dough preparation
- Bench scraper for easy dough handling
- Digital kitchen scale for precise ingredient measurements
Having these tools ready will make your baking smoother. It will help you make perfect cheese and garlic scones every time. The right tools are key to making delightful brunch delights that everyone will enjoy.
Key Tips for Working with Cold Ingredients
To make perfect flaky dough, you need to master working with cold ingredients. The trick is to keep everything chilled from start to finish. This is how you get those delicious, aromatic baked goods.
Cold butter is essential for making light, tender scones. Here are some tips to keep your ingredients cold:
- Freeze butter for 15-20 minutes before starting
- Use a box grater to shred cold butter quickly
- Chill your mixing bowl and utensils in the freezer
- Work quickly to prevent ingredients from warming up
The science behind cold ingredients is simple. Cold butter creates steam pockets when it hits the hot oven. Your goal is to keep the butter solid until it reaches high temperatures during baking.
Professional bakers say to handle the dough gently. Use your fingertips or a pastry cutter to mix butter with dry ingredients. Don’t use warm hands or overwork the dough, as this can melt the butter and make the scones dense.
- Aim to see small butter chunks in your dough
- Refrigerate the mixed dough for 20 minutes before shaping
- Use cream straight from the refrigerator
By using these techniques, you can turn simple ingredients into amazing flaky dough delicacies. These will impress any baking enthusiast.
Step-by-Step Mixing and Shaping Process
Making cheese and garlic scones needs a careful mix and shape. The right steps make sure your scones are perfect every time. Here’s how to do it step by step.
Combining Dry Ingredients
First, collect your dry ingredients. You’ll need:
- 345 grams (2 ¾ cups) of all-purpose flour
- 1 tablespoon baking powder
- 1 teaspoon salt
- ¼ teaspoon garlic powder
Sift these ingredients together in a big bowl. This gets rid of lumps and spreads the dry ingredients evenly for your scones.
Adding Wet Ingredients
Using cold ingredients is key for the right texture. Cut 113 grams (½ cup) of cold unsalted butter into small pieces. Use a pastry cutter or your hands to mix the butter with the dry ingredients until it looks like coarse crumbs.
Then, add 225 grams (8 oz) of cold buttermilk and 2 tablespoons of fresh chives. Mix gently until the dough just comes together. Pro tip: Avoid overmixing to prevent tough scones!
Forming and Cutting Scones
Put the dough on a floured surface. Pat it into a circle about 2½ cm (1″) thick. Sprinkle 200 grams (7 oz) of grated mature cheddar cheese over it and fold it in carefully.
Use a 6 cm (2½”) scone cutter to make your scones. If you don’t have one, cut the dough into 8 wedges with a sharp knife. Place the scones on a baking sheet and chill for 30 minutes to help them rise well.
Your cheese and garlic scones are now ready to bake to golden perfection!
Baking Techniques for Golden-Brown Results
Getting your scones to a perfect golden-brown crust is key. The right baking method can take your buttery scones from great to amazing. Here are the essential steps to make your scones as good as those from a bakery.
First, preheat your oven to 400°F (200°C). This step is vital for even baking. The high heat makes the outside crispy and the inside soft.
- Use a heavy-duty baking sheet for even heat distribution
- Place scones about 2 inches apart to allow proper browning
- Position the rack in the middle of the oven for optimal results
Before baking, brush your scones with a light egg wash or cream. This step adds a golden shine and a crispy outside. Use a pastry brush for a thin, even layer.
Baking time is important. Keep an eye on your scones for 15-20 minutes. They’re ready when they’re golden and sound hollow when tapped. If they get too dark, cover them with foil to prevent burning.
Pro tip: Let your scones cool on a wire rack for 10-15 minutes after baking. This helps keep their texture perfect.
Creative Variations and Cheese Options
Take your homemade scones to the next level by trying new flavors and cheese-filled treats. This will turn your basic recipe into a fun culinary adventure. Your scones can become a canvas for delicious creativity.
Alternative Cheese Combinations
Try different cheese varieties to add unique flavors to your scones:
- Sharp cheddar for bold taste
- Creamy Gruyère for nutty undertones
- Tangy goat cheese for a distinctive twist
- Aged Parmesan for rich, salty notes
- Smoky Asiago for depth of flavor
Herb and Spice Additions
Add new flavors to your cheese-filled treats with aromatic herbs and spices:
- Fresh herbs: Rosemary, thyme, dill
- Dried spices: Cracked black pepper, garlic powder
- Unexpected add-ins: Sun-dried tomatoes, caramelized onions
- Spicy kick: Chopped jalapeños, cayenne pepper
Mix and match these cheese and herb combinations. You’ll make unique homemade scones that will surprise and delight you every time.
Storage Tips and Reheating Methods
Keeping your homemade brunch delights fresh is simple. Whether for a special event or just a treat, storing and reheating them right is key. This ensures they stay tasty and fresh.
For a short time, store scones in an airtight container at room temperature. They’ll stay soft and flavorful for 1-2 days. For longer storage, the fridge is your best bet.
Refrigeration and Freezing Techniques
- Room temperature storage: 1-2 days in an airtight container
- Refrigerator storage: Up to 1 week
- Freezer storage: Up to 3 months
To reheat your scones, preheat your oven to 300°F (150°C). Warm them for 7-8 minutes. This method keeps them soft and brings out the garlic and cheese.
Freezing Tips for Long-Term Preservation
- Wrap each scone individually in plastic wrap
- Place wrapped scones in a freezer-safe bag
- Label the bag with the date of freezing
- Thaw at room temperature before reheating
For the best results, let scones cool completely before storing. This prevents moisture buildup. It keeps them crisp on the outside and soft on the inside.
Conclusion
Creating cheese and garlic scones has taught you important baking skills. These scones are more than a recipe; they’re a journey that turns simple ingredients into amazing treats. With practice, you’ll get better at making scones that wow everyone.
The secret to perfect scones is knowing your technique and using quality ingredients. Always use cold ingredients, handle the dough carefully, and bake at 425 degrees F. Each time you bake, you’ll get better and can try new cheese and herbs.
These scones are great for brunch, a snack, or with a big meal. Your homemade scones will always be better than store-bought ones. They have rich flavors and a soft texture, making them a great addition to your cooking. Enjoy the baking and the tasty results.
Working hard to get better at making these scones will pay off. You’ll have delicious cheese and garlic scones that show off your baking skills. Bon appétit!
FAQ
How long do cheese and garlic scones take to prepare?
You can make these tasty scones in just 30 minutes. They’re quick and perfect for any time of day.
Can I make these scones ahead of time?
Yes, you can make the dough ahead and chill it. Or, freeze unbaked scones for later. Just bake them straight from the freezer, adding a bit more time.
What types of cheese work best in these scones?
Sharp cheddar, Gruyère, Parmesan, and goat cheese are great choices. Pick a cheese with a strong flavor to pair well with garlic.
How do I keep my scones flaky and tender?
Use cold butter and handle the dough gently. Work fast, keep ingredients cold, and avoid overworking. This ensures your scones are light and flaky.
Can I freeze cheese and garlic scones?
Yes! Baked scones can be frozen for up to 3 months. Wrap them in plastic wrap and store in a container. Thaw at room temperature or reheat in the oven.
Are these scones suitable for special diets?
The basic recipe has gluten and dairy. But, you can use gluten-free flour or dairy-free cheese for different diets.
How should I serve cheese and garlic scones?
These scones are great for brunch, as a side, or a snack. Serve them warm with butter, with soups, or as part of a spread.
How long will these scones stay fresh?
Enjoy them within 1-2 days for the best taste. Store them in an airtight container. Warm them in the oven for freshness.
Can I add other herbs to the recipe?
Yes! Rosemary, thyme, or chives are great additions. Mix finely chopped herbs into the dry ingredients.
What’s the best way to reheat leftover scones?
Reheat them in a preheated oven at 350°F (175°C) for 5-7 minutes. This makes them crispy on the outside and soft inside, like fresh.
