
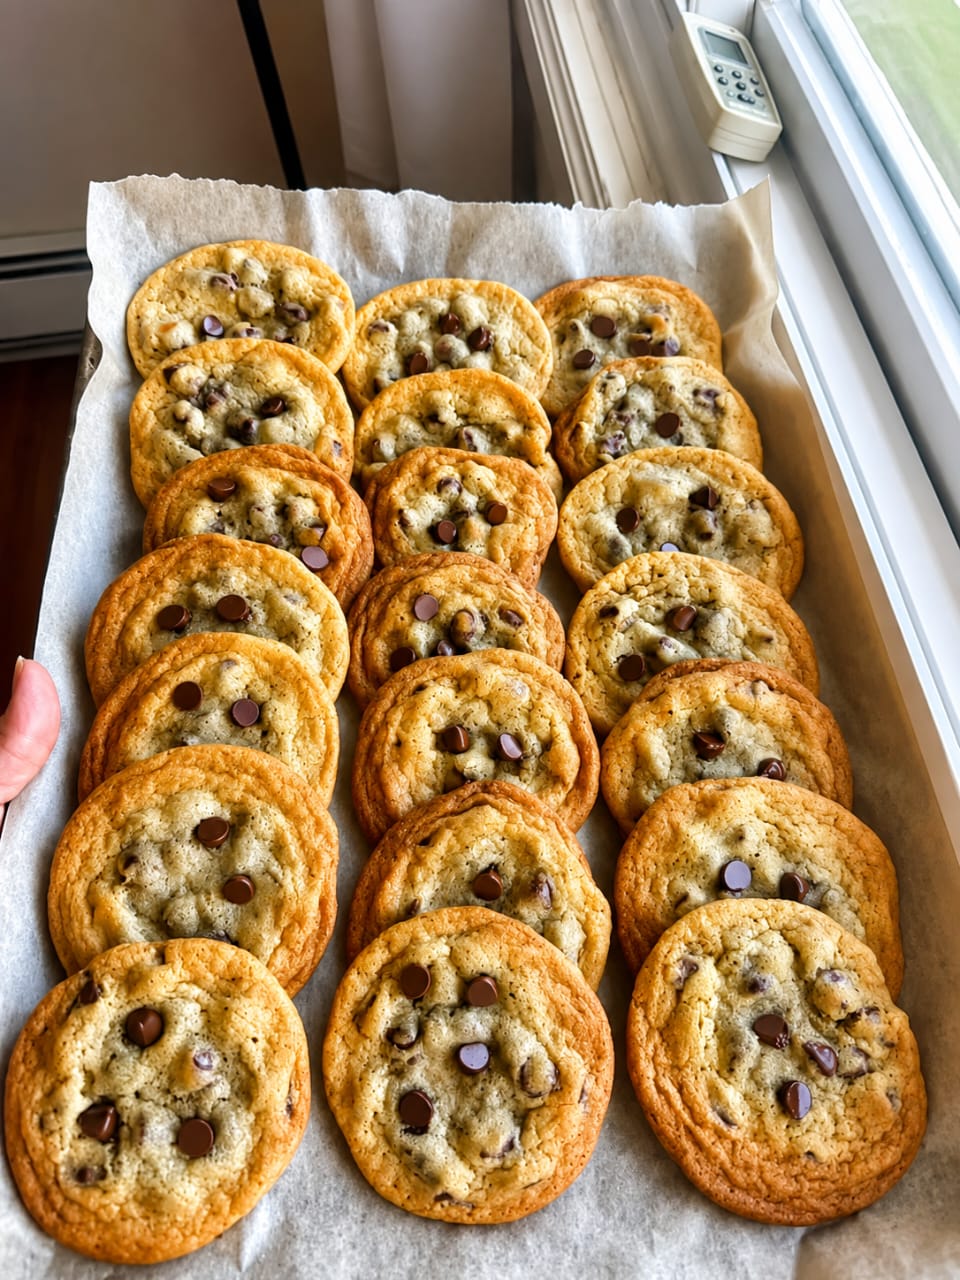
Why You’ll Love This Recipe
- Perfect Bakery Texture: Golden, crisp edges paired with an amazingly soft, chewy, center that stays soft for days.
- Rich Flavor: Using a combination of brown and white sugar gives these cookies a rich, caramel-like sweetness.
- Crowd-Pleasing Batch: Yields a generous tray of cookies, making them ideal for parties, bake sales, or weekend treats.
- Simple & Reliable: No complicated techniques—just simple ingredients brought together for absolute cookie perfection.
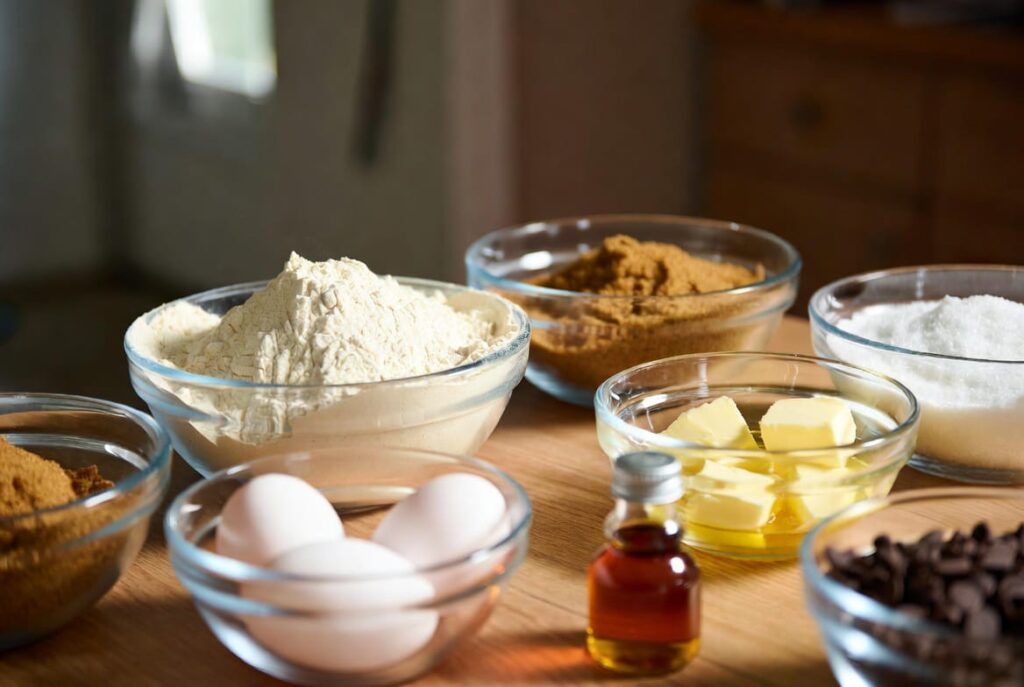
Ingredients
- All-Purpose Flour (2¼ cups / 280g): Provides the perfect structure without making the cookies dense.
- Baking Soda (1 tsp): Gives the cookies just the right rise and aids in beautiful browning.
- Salt (½ tsp): Balances the sweet chocolate flavor perfectly.
- Unsalted Butter (¾ cup / 170g): Melted and slightly cooled; adds rich flavor and keeps the centers chewy.
- Light Brown Sugar (1 cup / 200g, packed): Key for moisture and that delicious deep caramel flavor.
- Granulated Sugar (½ cup / 100g): Helps create those crisp, golden-brown edges.
- Egg (1 large, room temperature): Binds the dough together.
- Egg Yolk (1 large, room temperature): The secret weapon for extra richness and chewiness!
- Pure Vanilla Extract (2 tsp): Elevates the dough flavor profile.
- Semi-Sweet Chocolate Chips (1½ cups / 250g): Use good quality chips; save a handful to press on top right after baking!
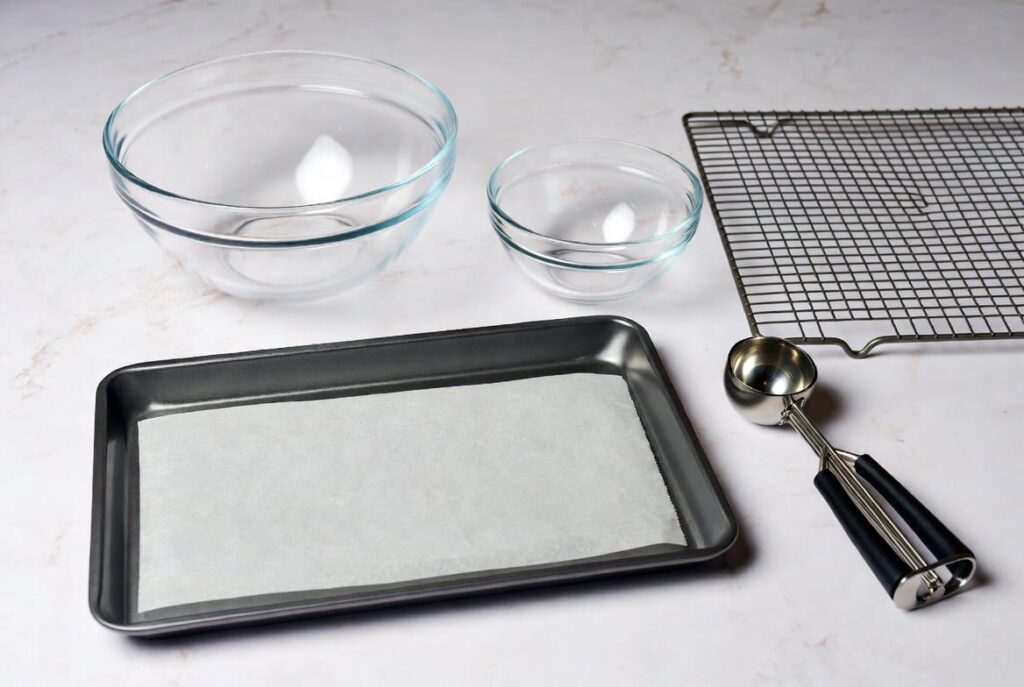
Equipment Needed
- Baking Sheet & Parchment Paper: Prevents sticking and promotes even baking.
- Mixing Bowls: One large and one medium for combining wet and dry ingredients.
- Cookie Scoop (1.5–2 tbsp size): Ensures uniform cookie sizes so they bake evenly.
- Wire Cooling Rack: For cooling the cookies without making the bottoms soggy.
Step-by-Step Instructions
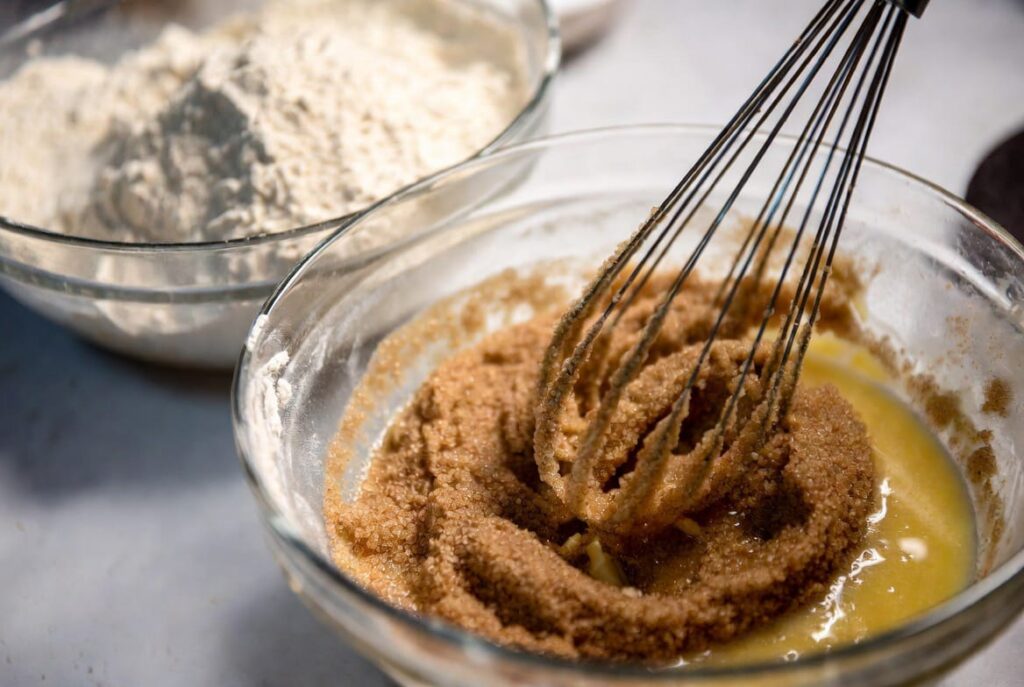
Step 1: Whisk Dry Ingredients & Mix Wet Ingredients
In a medium bowl, whisk together the flour, baking soda, and salt; set aside. In a large bowl, whisk the melted butter, brown sugar, and granulated sugar until well combined and smooth. Whisk in the egg, egg yolk, and vanilla extract until the mixture is glossy and lightened in color.
Step 2: Combine and Fold in Chocolate Chips
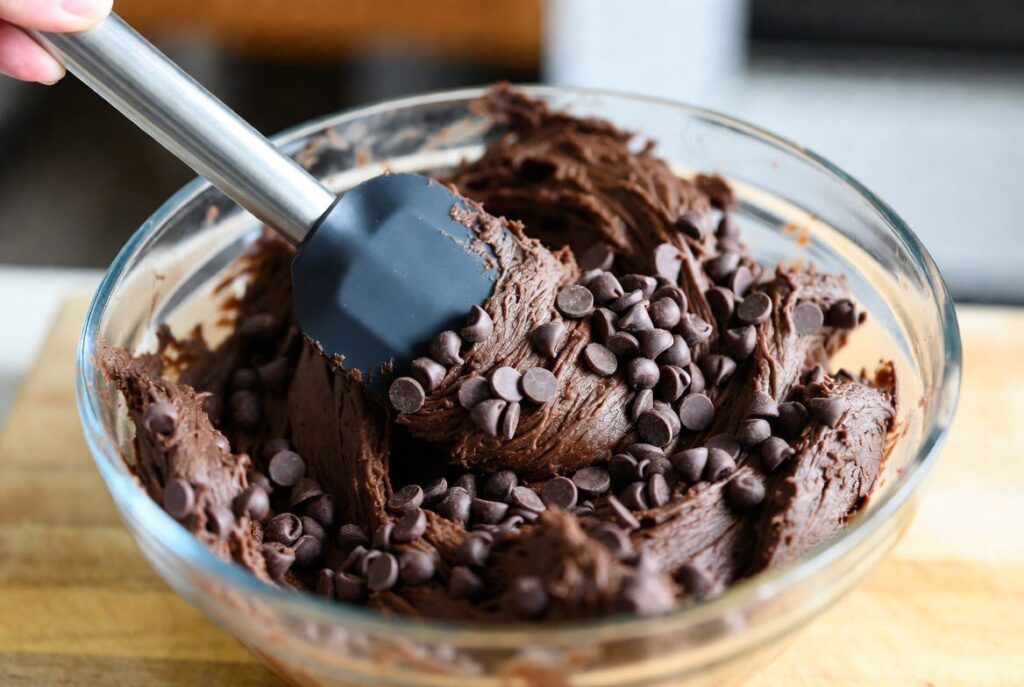
Pour the dry ingredients into the wet mixture and stir with a spatula just until combined (do not overmix!). Fold in 1¼ cups of the chocolate chips, reserving the rest for later.
Step 3: Chill the Dough
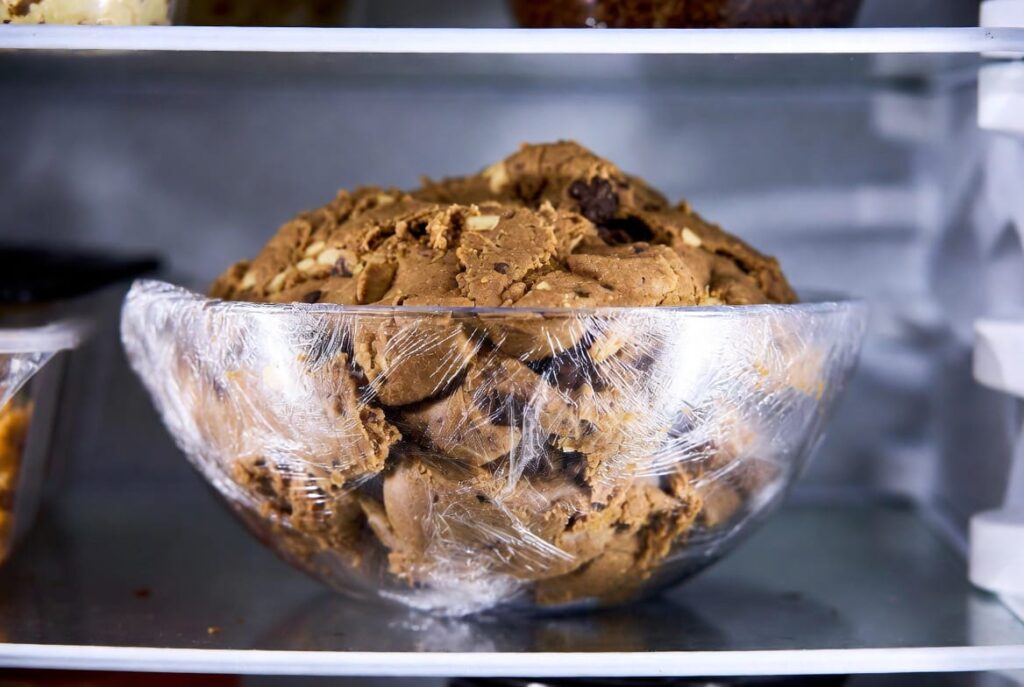
Cover the bowl with plastic wrap and chill in the refrigerator for at least 30 to 45 minutes. Chilling prevents the cookies from spreading too flat in the oven and enhances the flavor!
Step 4: Scoop and Bake
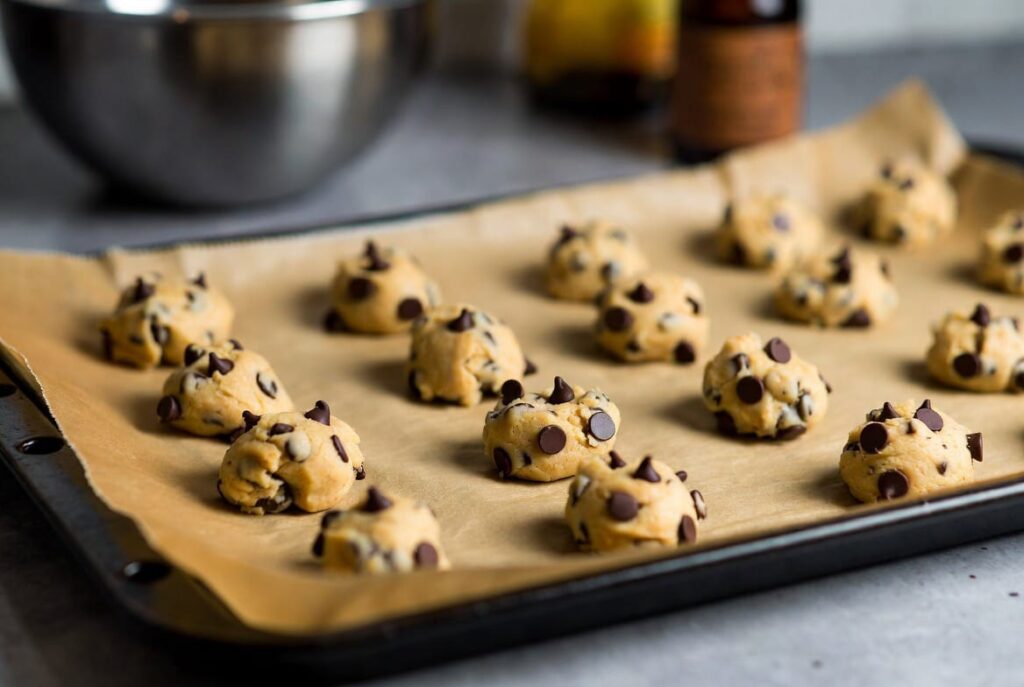
Preheat your oven to 350°F (175°C) and line a baking sheet with parchment paper. Scoop 2-tablespoon-sized balls of dough onto the tray, spacing them about 2 inches apart. Bake for 10 to 12 minutes, or until the edges are golden brown but the centers still look slightly soft.
Step 5: Press Extra Chips & Cool
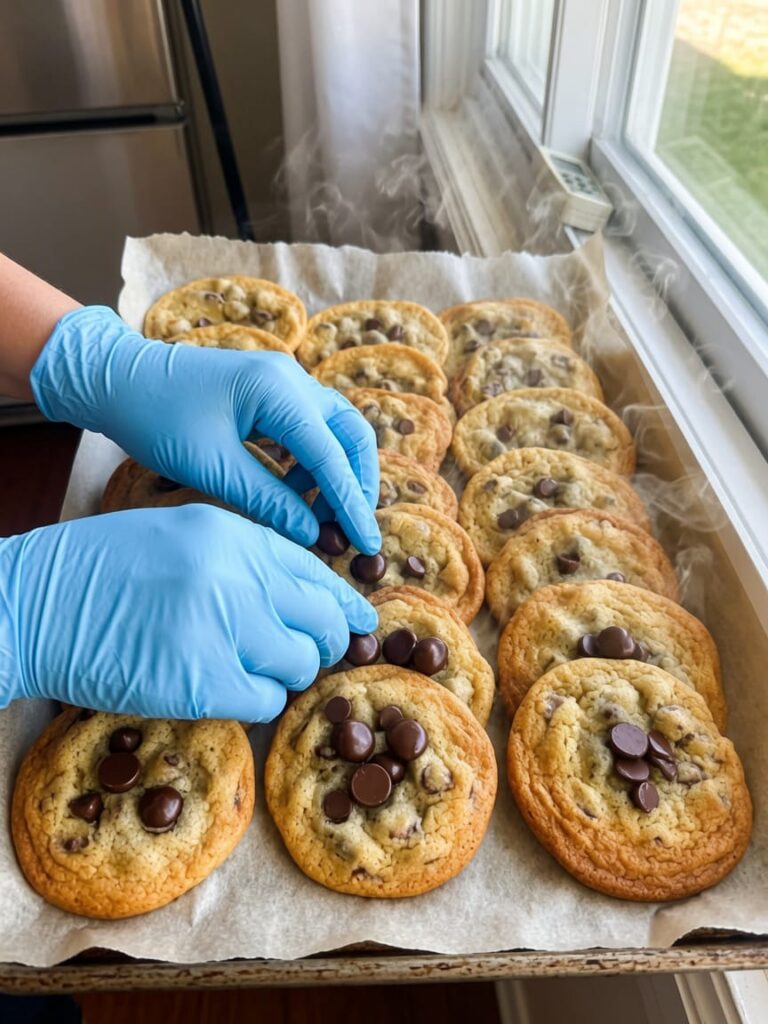
Remove from the oven and immediately press a few reserved chocolate chips into the tops of the warm cookies for that classic bakery look. Let them cool on the sheet for 5–10 minutes, then transfer to a wire cooling rack
Pro Tips for Success
- Don’t Overbake: Pull the cookies out when the edges are set and golden, even if the center looks slightly underdone. They will continue to set as they cool on the hot pan.
- The Extra Egg Yolk: Adding an extra yolk adds fat and moisture, which is the key to achieving that chewy texture.
- Melted Butter vs. Creamed Butter: Using melted butter yields a denser, chewier cookie rather than a cakey one.
Variations and Substitutions
- Chocolate Combinations: Swap half the semi-sweet chips for dark chocolate chunks, white chocolate chips, or milk chocolate.
- Nuts & Crunch: Add ½ cup of chopped toasted walnuts or pecans for extra texture and nutty flavor.
- Sea Salt Finish: Sprinkle a pinch of flaky sea salt on top right after they come out of the oven to contrast the sweetness.
Storage and Reheating Instructions
- Room Temperature: Keep baked cookies in an airtight container at room temperature with a slice of white bread (to absorb dryness) for up to 5–7 days.
- Freezing Dough: You can freeze scooped dough balls on a baking sheet, then transfer them to a ziplock bag for up to 3 months. Bake directly from frozen at 350°F, adding 1–2 extra minutes.
- Reheating: Warm a cookie in the microwave for 8–10 seconds to make the chocolate gooey again!
Frequently Asked Questions
Why did my cookies spread too much?
This usually happens if the butter was too hot when added, if the dough wasn’t chilled, or if the oven temperature ran too low.
Can I make the dough in advance?
Yes! You can refrigerate the covered dough for up to 48 hours. In fact, resting the dough improves the flavor even further.
Why are my cookies cakey instead of chewy?
Using too much flour or over-beating the eggs incorporates too much air, giving cookies a cake-like structure. Measure your flour by spooning it into the measuring cup rather than scooping directly.
Can I substitute margarine for butter?
Butter is strongly recommended for flavor and structure, as margarine contains higher water content which can cause unpredictable spreading.
How do I get my cookies uniformly round?
Right out of the oven, take a circular cookie cutter or large glass (bigger than the cookie) and swirl it gently around the cookie on the baking sheet to pull the edges into a perfect circle.
Nutrition Information
Estimated per serving (1 cookie, assuming 18 cookies per batch):
| Nutrient | Amount |
|---|---|
| Calories | 210 kcal |
| Total Fat | 10g |
| Saturated Fat | 6g |
| Cholesterol | 25mg |
| Sodium | 115mg |
| Total Carbohydrates | 28g |
| Dietary Fiber | 1g |
| Sugars | 18g |
| Protein | 2.5g |
Conclusion
There’s a reason these classic chocolate chip cookies are a timeless staple in every kitchen. With their soft, chewy centers, crisp edges, and warm pockets of chocolate, they are bound to satisfy any sweet craving. Bake up a batch today, pour yourself a cold glass of milk, and enjoy the delicious fruits of your labor!