
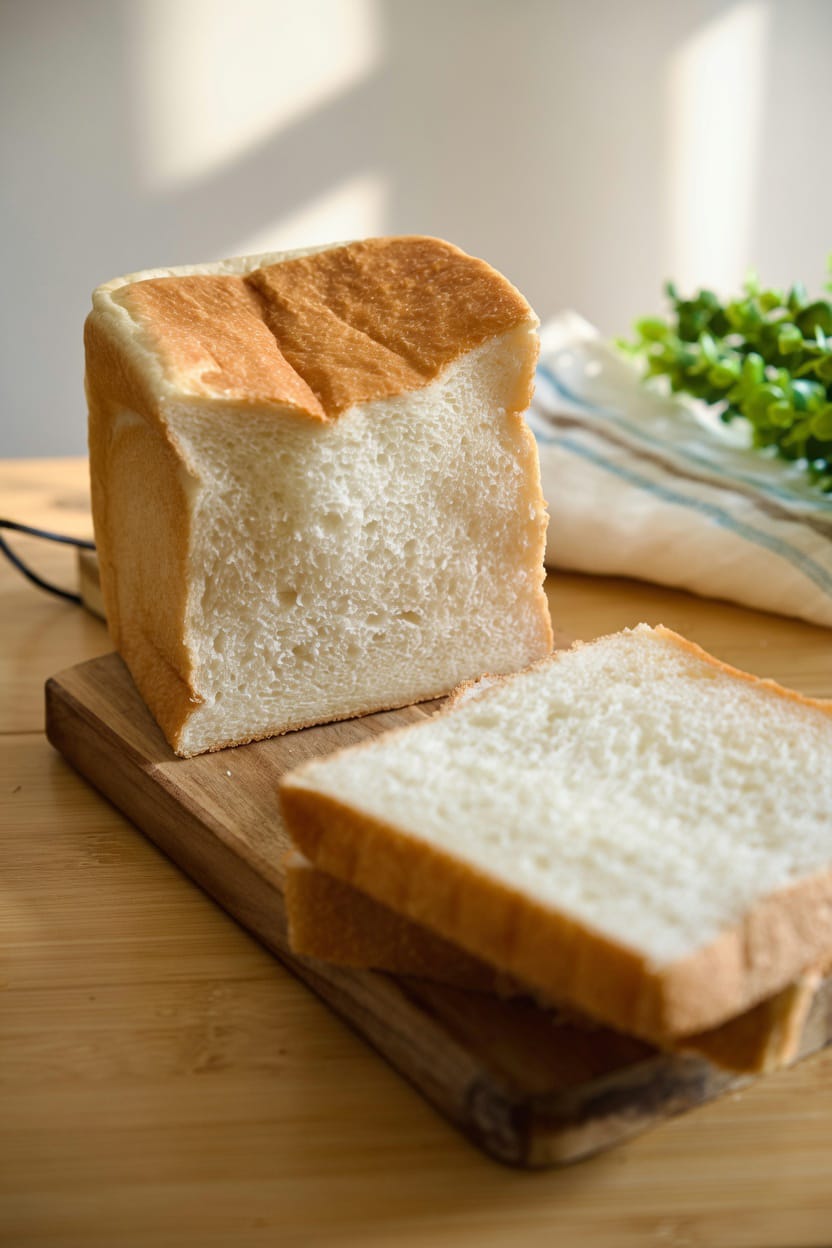
There is nothing quite like the smell of freshly baked bread filling your kitchen, especially when it’s Japanese Milk Bread, also known as Shokupan. This loaf is famous for its feather-light interior, pillowy crumb, and golden, delicate crust.
By using a simple yeast dough enriched with whole milk and butter, you can achieve that cloud-like texture right in your home kitchen without any fancy bakery equipment. Whether you slice it thick for morning toast or use it to elevate your favorite sandwiches, this classic Japanese sandwich loaf is guaranteed to become a household favorite.
Why You’ll Love This Recipe
- Unbeatably Soft Texture: Slices up super soft, airy, and bouncy every single time.
- Simple Pantry Ingredients: Uses everyday staples like flour, milk, butter, yeast, and sugar.
- Beginner-Friendly: Clear, step-by-step guidance so even first-time bread bakers can get bakery-quality results.
- Versatile: Perfect for thick French toast, egg salad sandwiches, or just slathered with salted butter and jam.
Ingredients
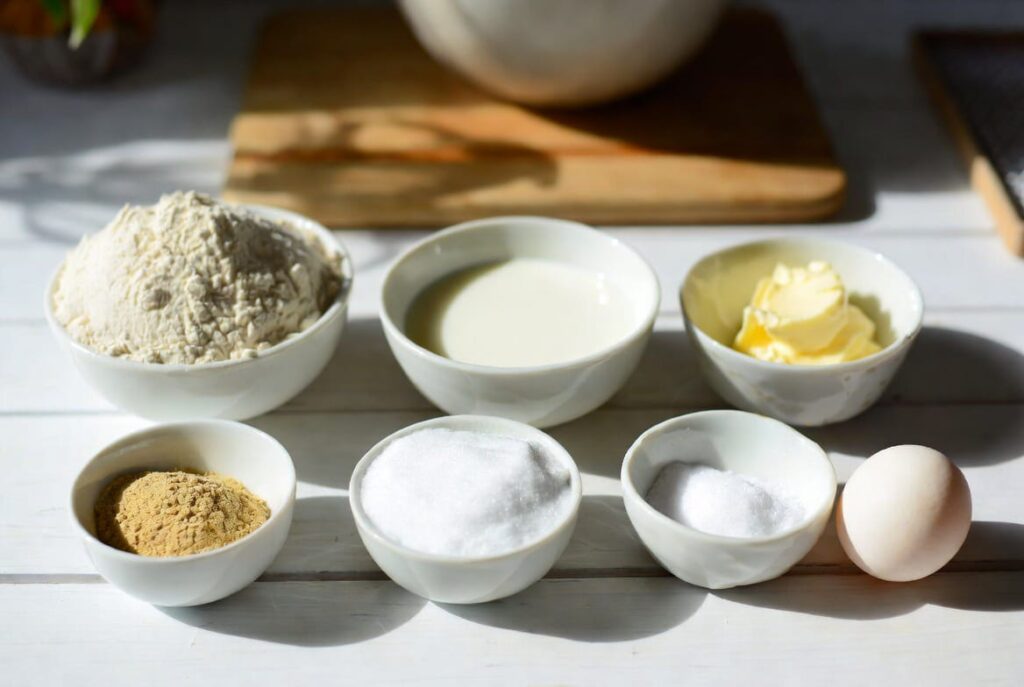
- Bread Flour (3½ cups / 420g): High-protein flour gives the loaf its signature chew and height.
- Instant Yeast (2¼ tsp / 1 packet): Helps the dough rise reliably and quickly.
- Granulated Sugar (3 tbsp / 42g): Adds a touch of sweetness and feeds the yeast.
- Fine Sea Salt (1½ tsp / 9g): Enhances flavor and regulates yeast activity.
- Whole Milk (1 cup / 240ml): Lukewarm (around 105°F–110°F) to activate the yeast and keep the crumb tender.
- Unsalted Butter (3 tbsp / 42g): Softened to room temperature for a rich, silky dough.
- Egg (1 large): At room temperature; adds structure and richness.
Equipment Needed
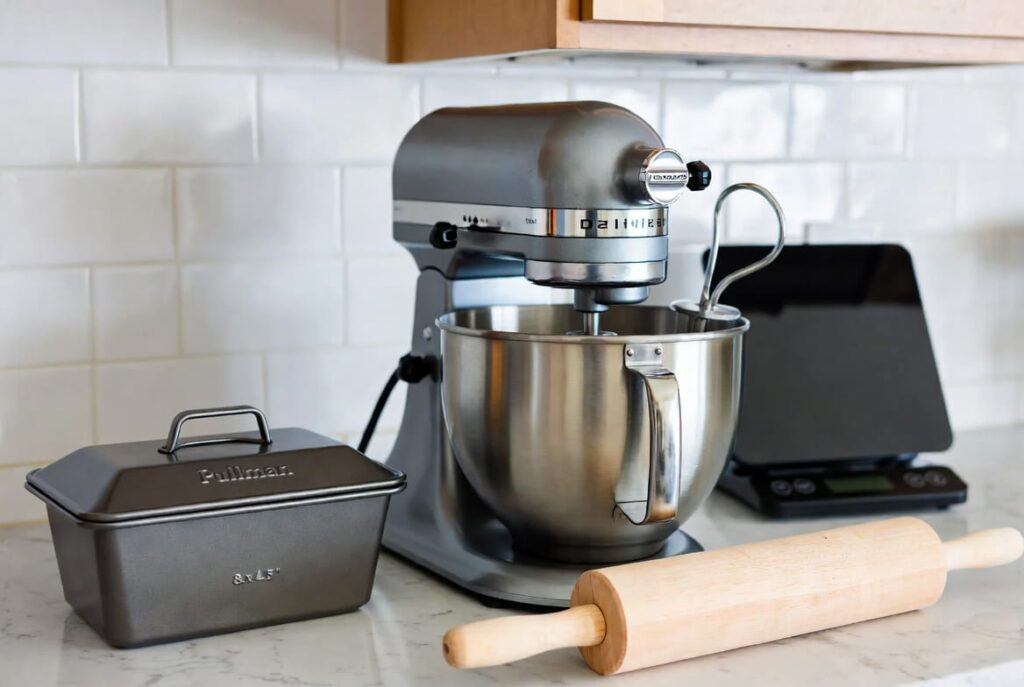
- Pullman Loaf Pan (8.5 x 4.5 inch or standard 9×5 bread pan): A Pullman pan gives that distinct square shape, but a standard loaf pan works brilliantly too.
- Stand Mixer with Dough Hook (Optional): Makes kneading effortless, though hand-kneading works great.
- Measuring Cups & Spoons or Kitchen Scale: A scale provides the most precise results.
- Large Mixing Bowl & Plastic Wrap: For proving the dough.
- Rolling Pin: To shape the dough rolls smoothly.
Step-by-Step Instructions
Step 1: Combine the Dry Ingredients & Warm Milk
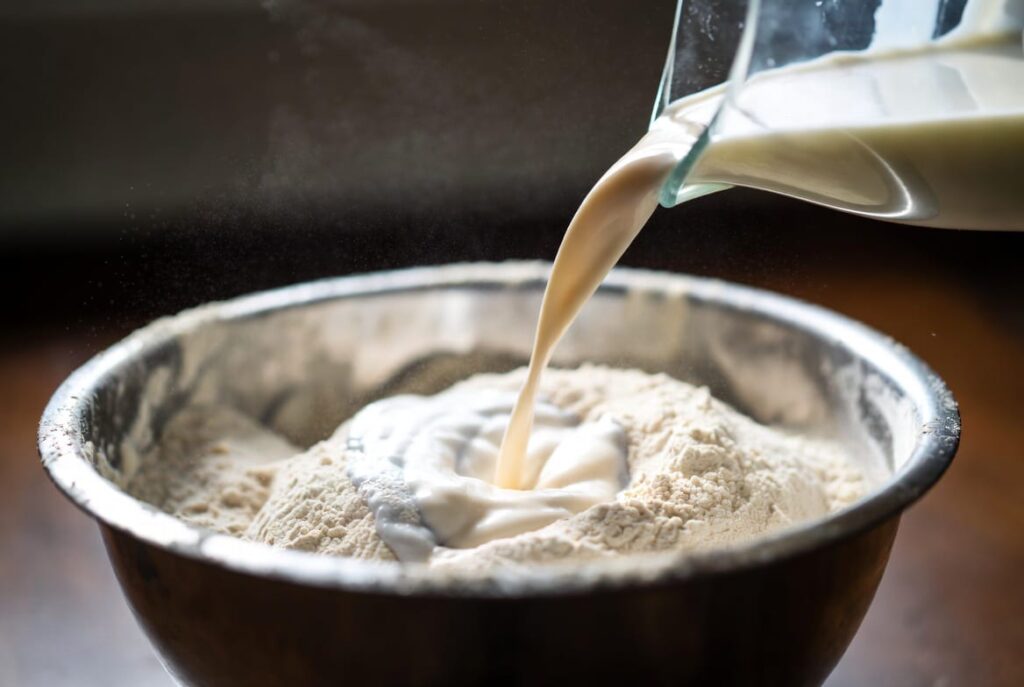
In the bowl of a stand mixer (or a large mixing bowl), combine the bread flour, instant yeast, sugar, and salt. Stir gently. Pour in the warm whole milk and the room-temperature egg.
Step 2: Knead the Dough
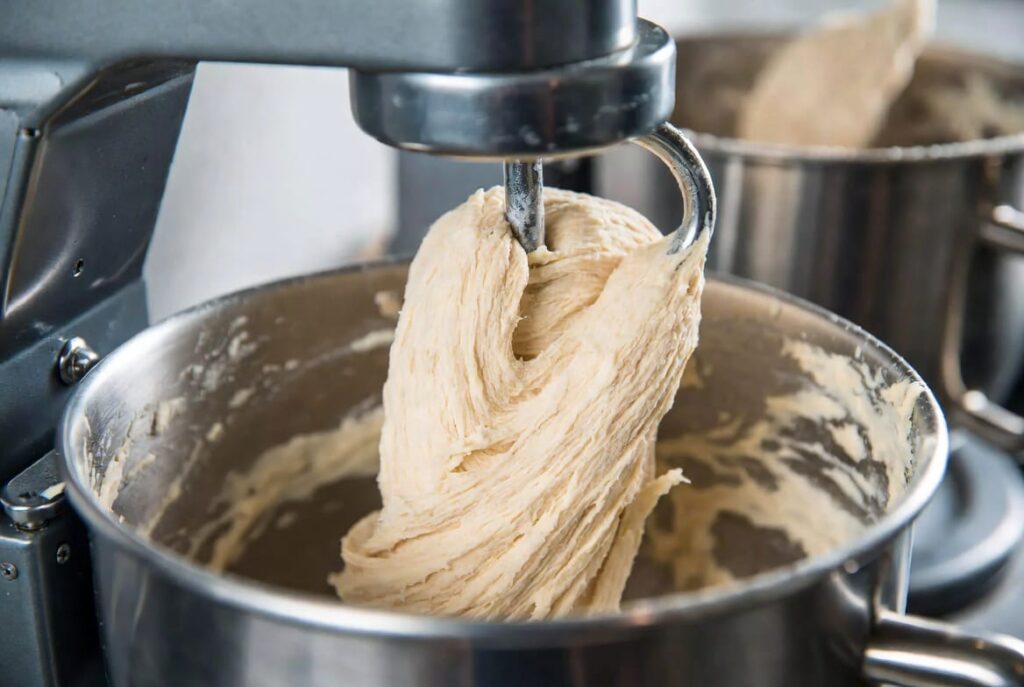
Mix on low speed until a rough dough forms (about 2–3 minutes). Add the softened butter one tablespoon at a time. Increase speed to medium and knead for 8–10 minutes until the dough becomes smooth, elastic, and slightly tacky but not sticky.
Step 3: First Rise
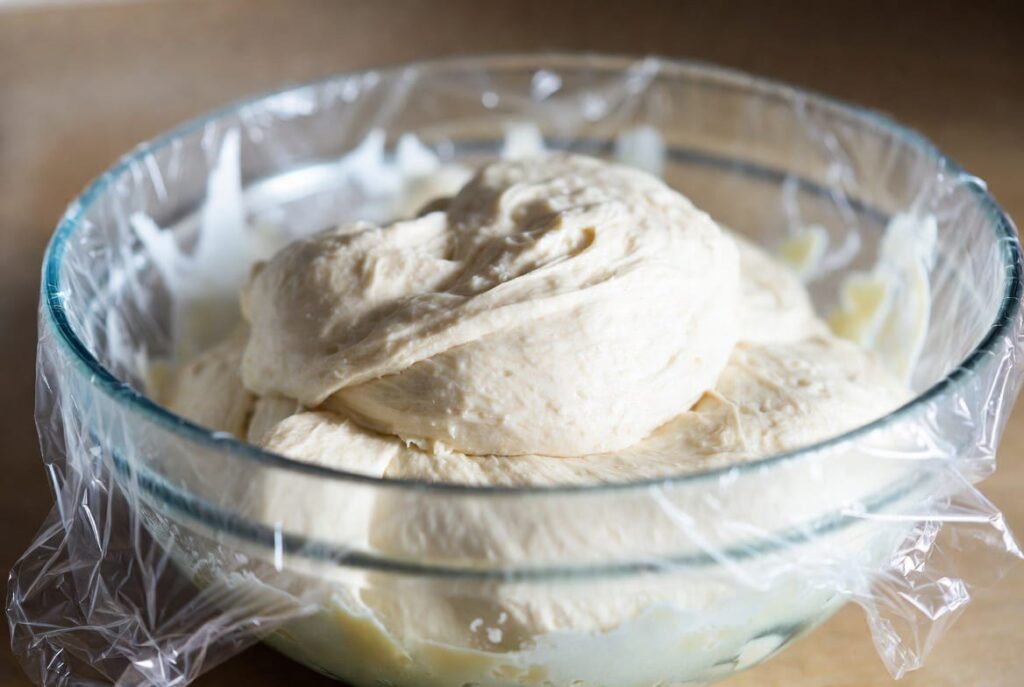
Shape the dough into a smooth ball. Place it into a lightly oiled bowl, cover with plastic wrap or a damp towel, and let it rise in a warm spot for 60–90 minutes, or until doubled in size.
Step 4: Shape the Loaf
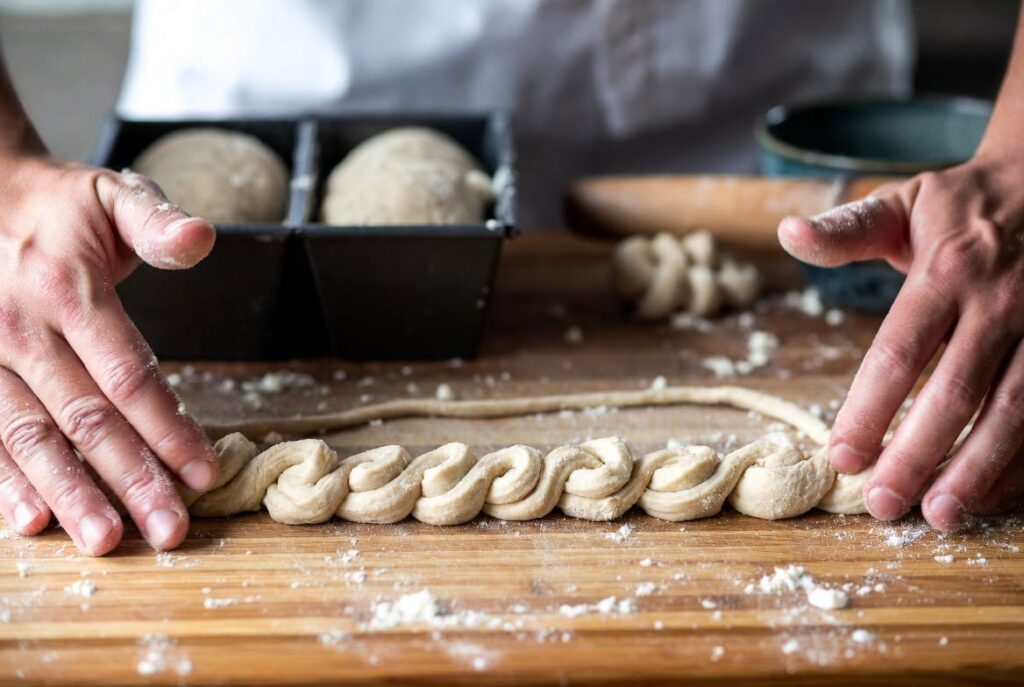
Gently punch down the dough to release air bubbles. Divide into 2 or 3 equal portions. Roll each piece flat with a rolling pin into an oval, fold the sides inward, roll it up into a tight log, and place the logs side-by-side inside your greased loaf pan.
Step 5: Second Rise & Bake
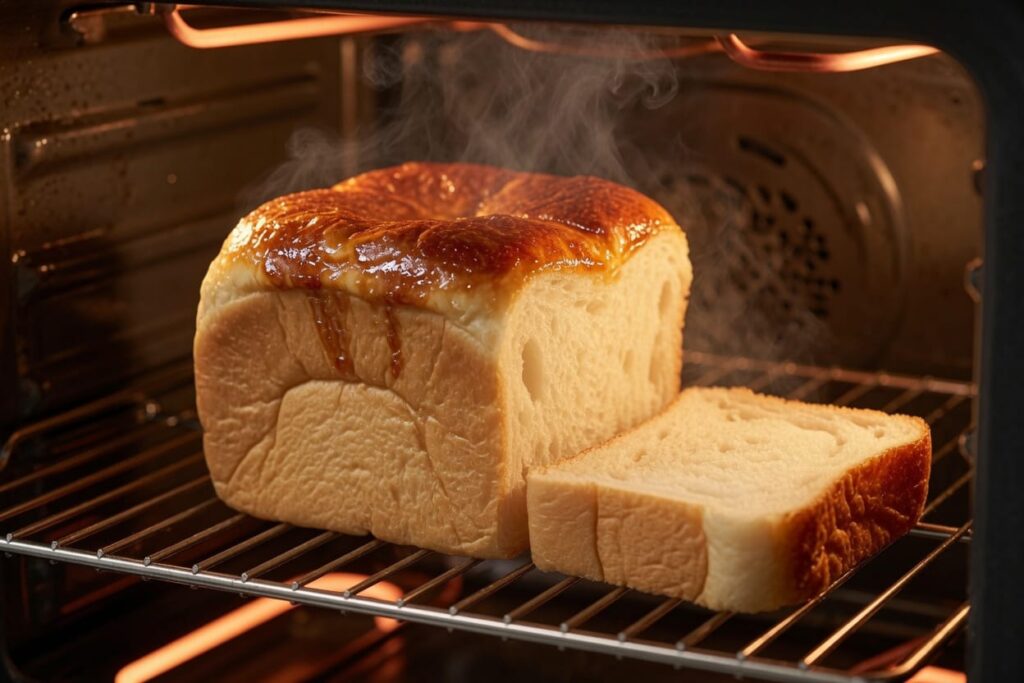
Cover the pan loosely and let the dough rise for another 45–60 minutes until it reaches near the top of the pan. Preheat your oven to 350°F (175°C). Bake for 30–35 minutes until the top is deep golden brown and the internal temperature reaches 190°F (88°C).
Pro Tips for Success
- Measure Flour Accurately: If using measuring cups, spoon the flour into the cup and level it off with a knife. Packing flour leads to heavy, dense bread.
- Watch Milk Temperature: Keep milk warm to the touch ($105^\circ\text{F} – 110^\circ\text{F}$). If it’s too hot, it can kill the yeast.
- Cool Completely Before Slicing: Resist the temptation to cut warm bread! Let it cool fully on a wire rack so the interior structure sets without becoming gummy.
Variations and Substitutions
- Tangzhong Method: For even longer shelf life and extreme moisture, make a quick roux of 2 tbsp flour and 6 tbsp milk over low heat, cool it, and add it with the liquids.
- Whole Wheat Milk Bread: Swap out up to 30% of the bread flour with whole wheat flour for an nuttier flavor profile.
- Sweet Raisin or Cinnamon Swirl: Roll cinnamon sugar or soaked raisins into the dough logs before placing them in the pan.
Storage and Reheating Instructions
- Room Temperature: Store the cooled, sliced loaf in an airtight bag or bread box for up to 4 days.
- Freezing: Slice the loaf completely, place parchment paper between slices, and store in a freezer bag for up to 3 months.
- Reheating: Toast frozen or room-temp slices directly in a toaster or oven at 350°F for 3–5 minutes to bring back that bakery freshness.
Frequently Asked Questions
Can I use all-purpose flour instead of bread flour?
Yes, all-purpose flour works fine, but bread flour’s higher protein content gives the bread its signature extra-fluffy rise and chewy texture.
Why did my bread not rise properly?
Your yeast may have been expired, or the milk was too hot ($>120^\circ\text{F}$), which kills yeast. Ensure your kitchen environment isn’t too cold during the proofing stage.
Can I knead this dough by hand?
Absolutely! It takes about 12–15 minutes of vigorous kneading by hand to develop enough gluten for a light crumb.
How do I get a shiny crust?
Brush the top of the loaf with a quick egg wash (1 egg beaten with 1 tbsp milk) or melted butter right before baking.
Why is my bread gummy inside?
Gummyness happens if the bread wasn’t baked long enough or if you sliced it while it was still hot out of the oven.
Nutrition Information
Estimated per serving (1 slice, assuming 12 slices per loaf):
| Nutrient | Amount |
| Calories | 185 kcal |
| Total Fat | 4.5g |
| Saturated Fat | 2.5g |
| Cholesterol | 25mg |
| Sodium | 310mg |
| Total Carbohydrates | 30g |
| Dietary Fiber | 1g |
| Sugars | 4g |
| Protein | 6g |
Conclusion
Making soft, cloud-like Japanese milk bread at home is incredibly rewarding and much easier than it looks! With simple pantry staples and a little patience during proofing, you’ll produce bakery-quality shokupan that rivals any specialty shop. Give this recipe a try this weekend, and don’t forget to enjoy that very first thick slice warm with a bit of butter!